> ## Documentation Index
> Fetch the complete documentation index at: https://docs.bytebase.com/llms.txt
> Use this file to discover all available pages before exploring further.
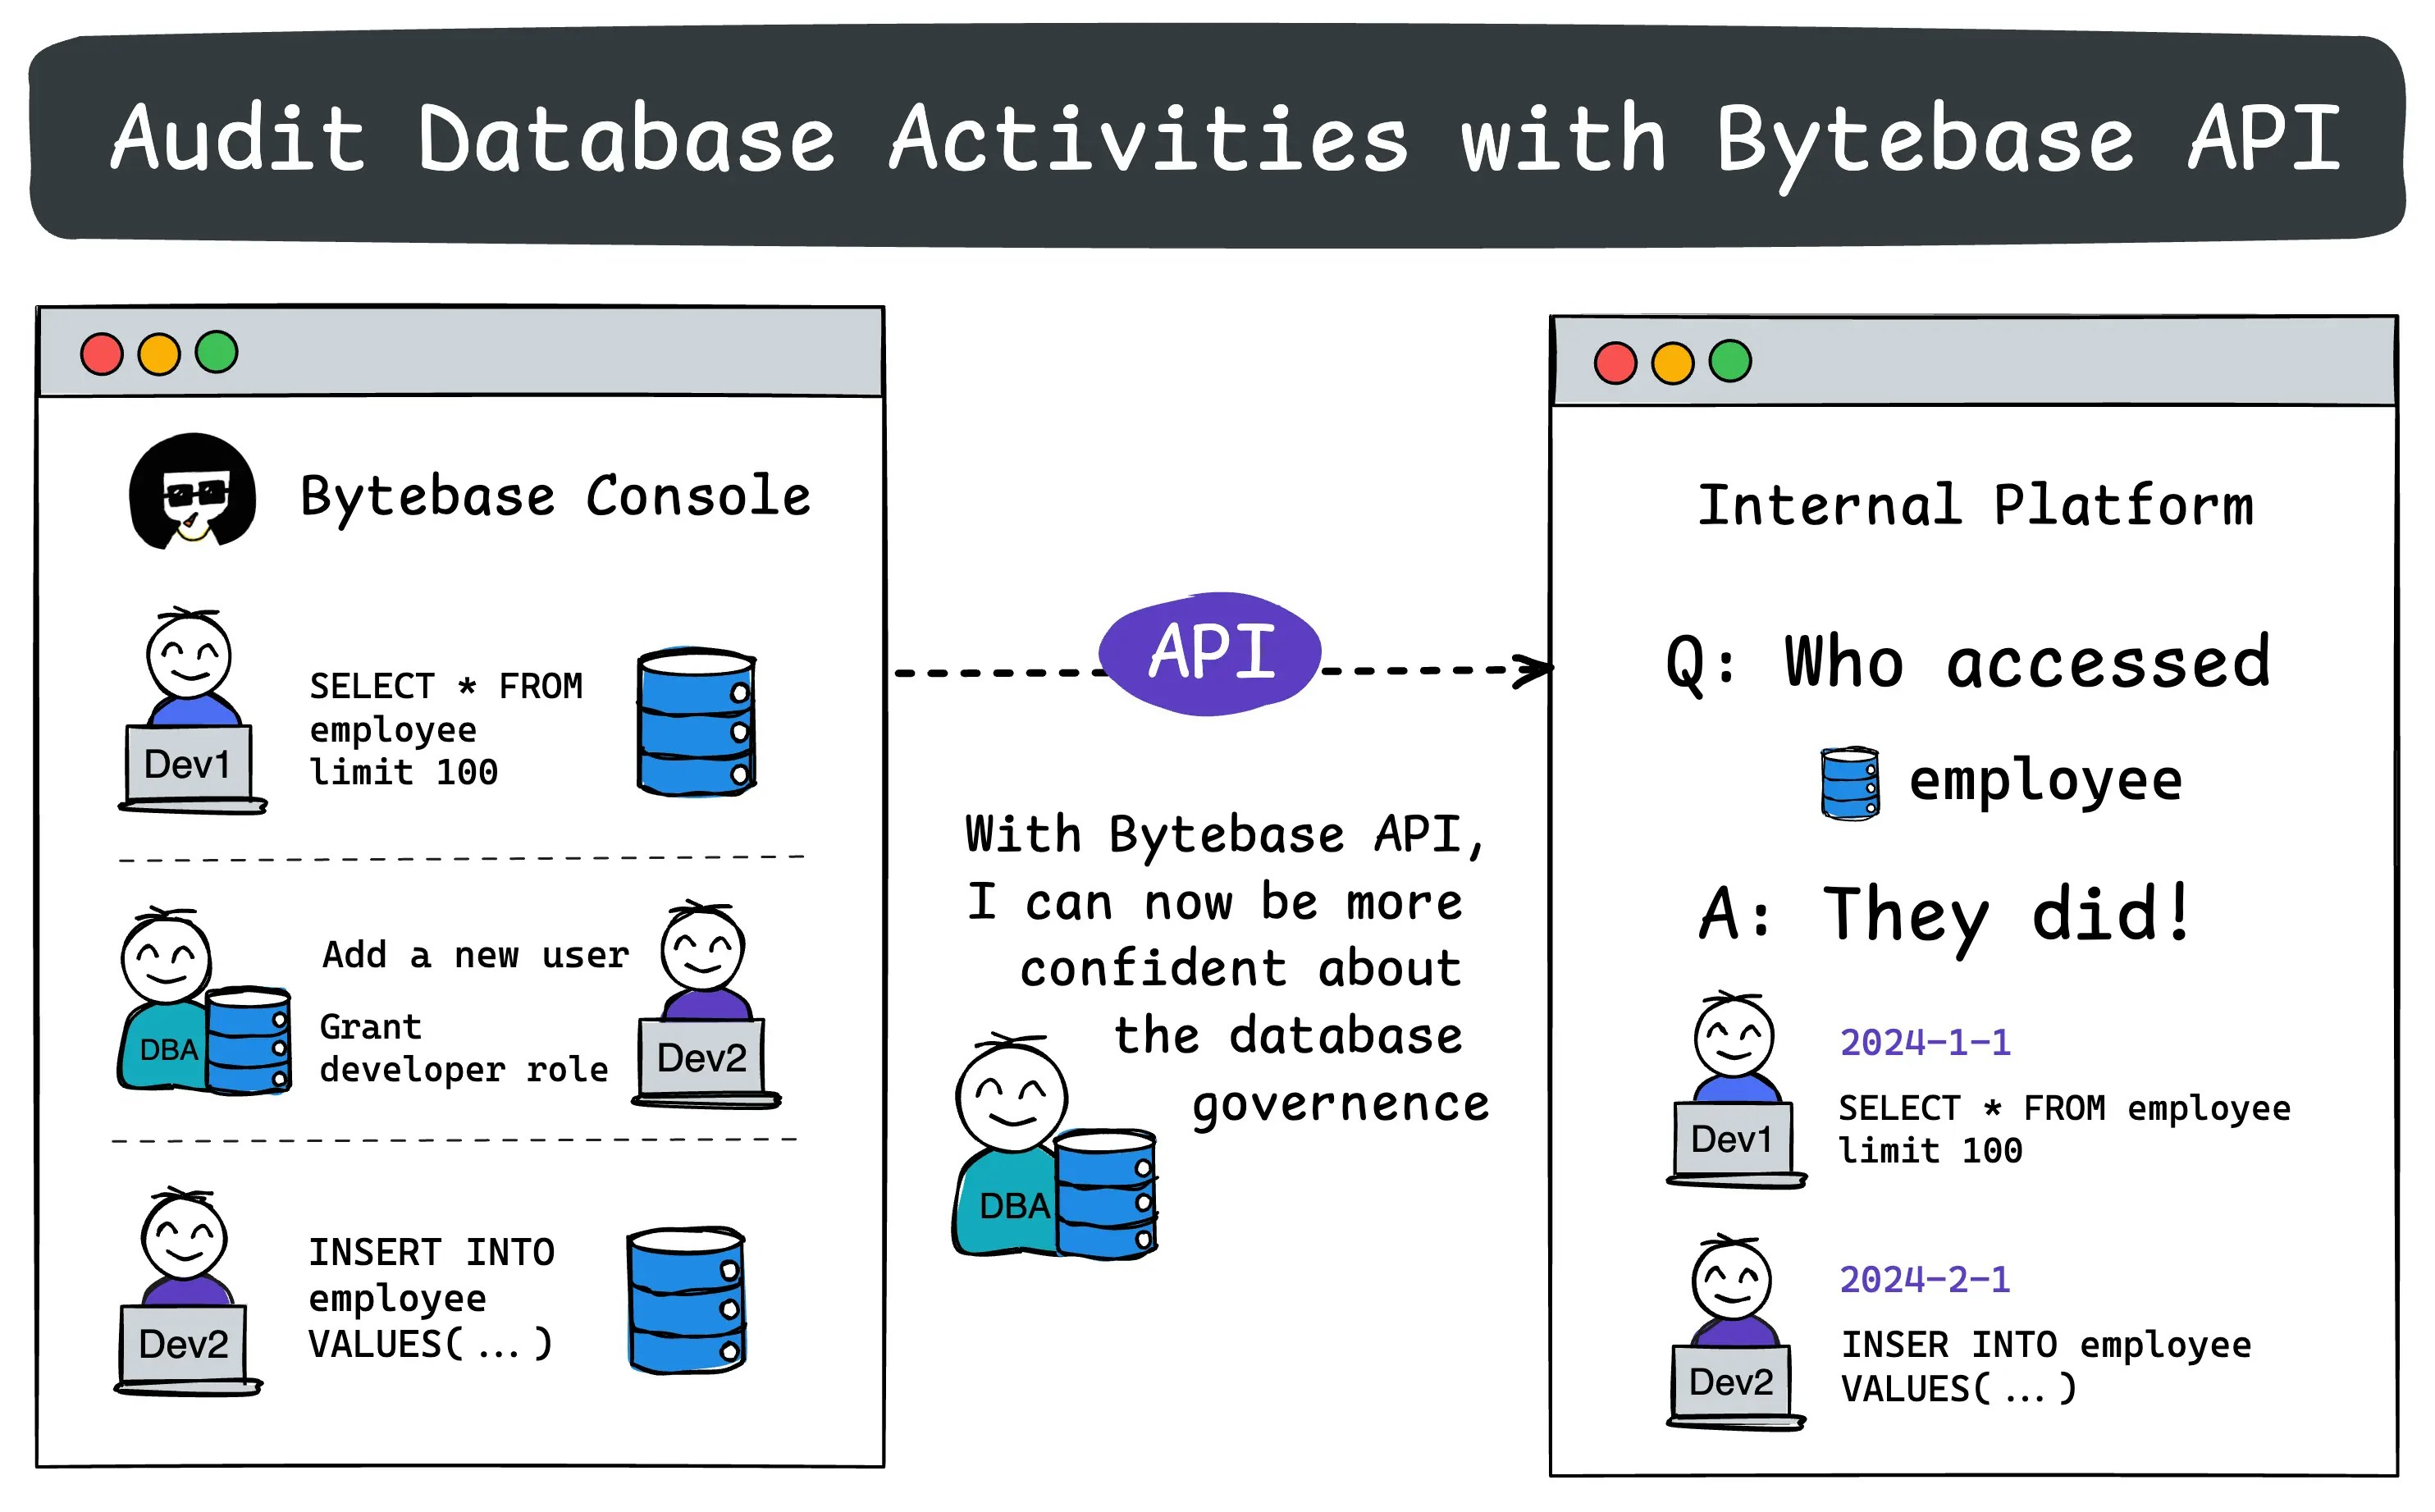
# Audit Database Activities with Bytebase API
Bytebase is a database DevSecOps platform designed for developers, security, DBA, and platform engineering teams. While it offers an intuitive GUI for managing database schema changes and access control, some teams may want to integrate Bytebase into their existing DevOps platforms using the [Bytebase API](/integrations/api/overview/).
 In our previous tutorials, we demonstrated how to use the Bytebase API to:
1. [Create a schema change](/tutorials/api-issue)
2. [Check user and database permissions](/tutorials/api-user-database-permission)
This tutorial will focus on fetch and filter audit log in Bytebase, it's OK if you haven't gone through the previous tutorials.
## Repository
[https://github.com/bytebase/example-api/tree/main/audit-log](https://github.com/bytebase/example-api/tree/main/audit-log)
## Prerequisites
1. [Docker](https://www.docker.com/) installed
2. Node.js >= v18
## Start Bytebase
Make sure your Docker daemon is running. Copy and paste the commands to start Bytebase.
```bash theme={null}
docker run --rm --init \
--name bytebase \
--publish 8080:8080 --pull always \
--volume ~/.bytebase/data:/var/opt/bytebase \
bytebase/bytebase:latest
```
Bytebase is now running via Docker, and you can access it via `localhost:8080`. Register the first admin account which will be granted [`Workspace Admin`](/administration/roles).
## Create Service Account
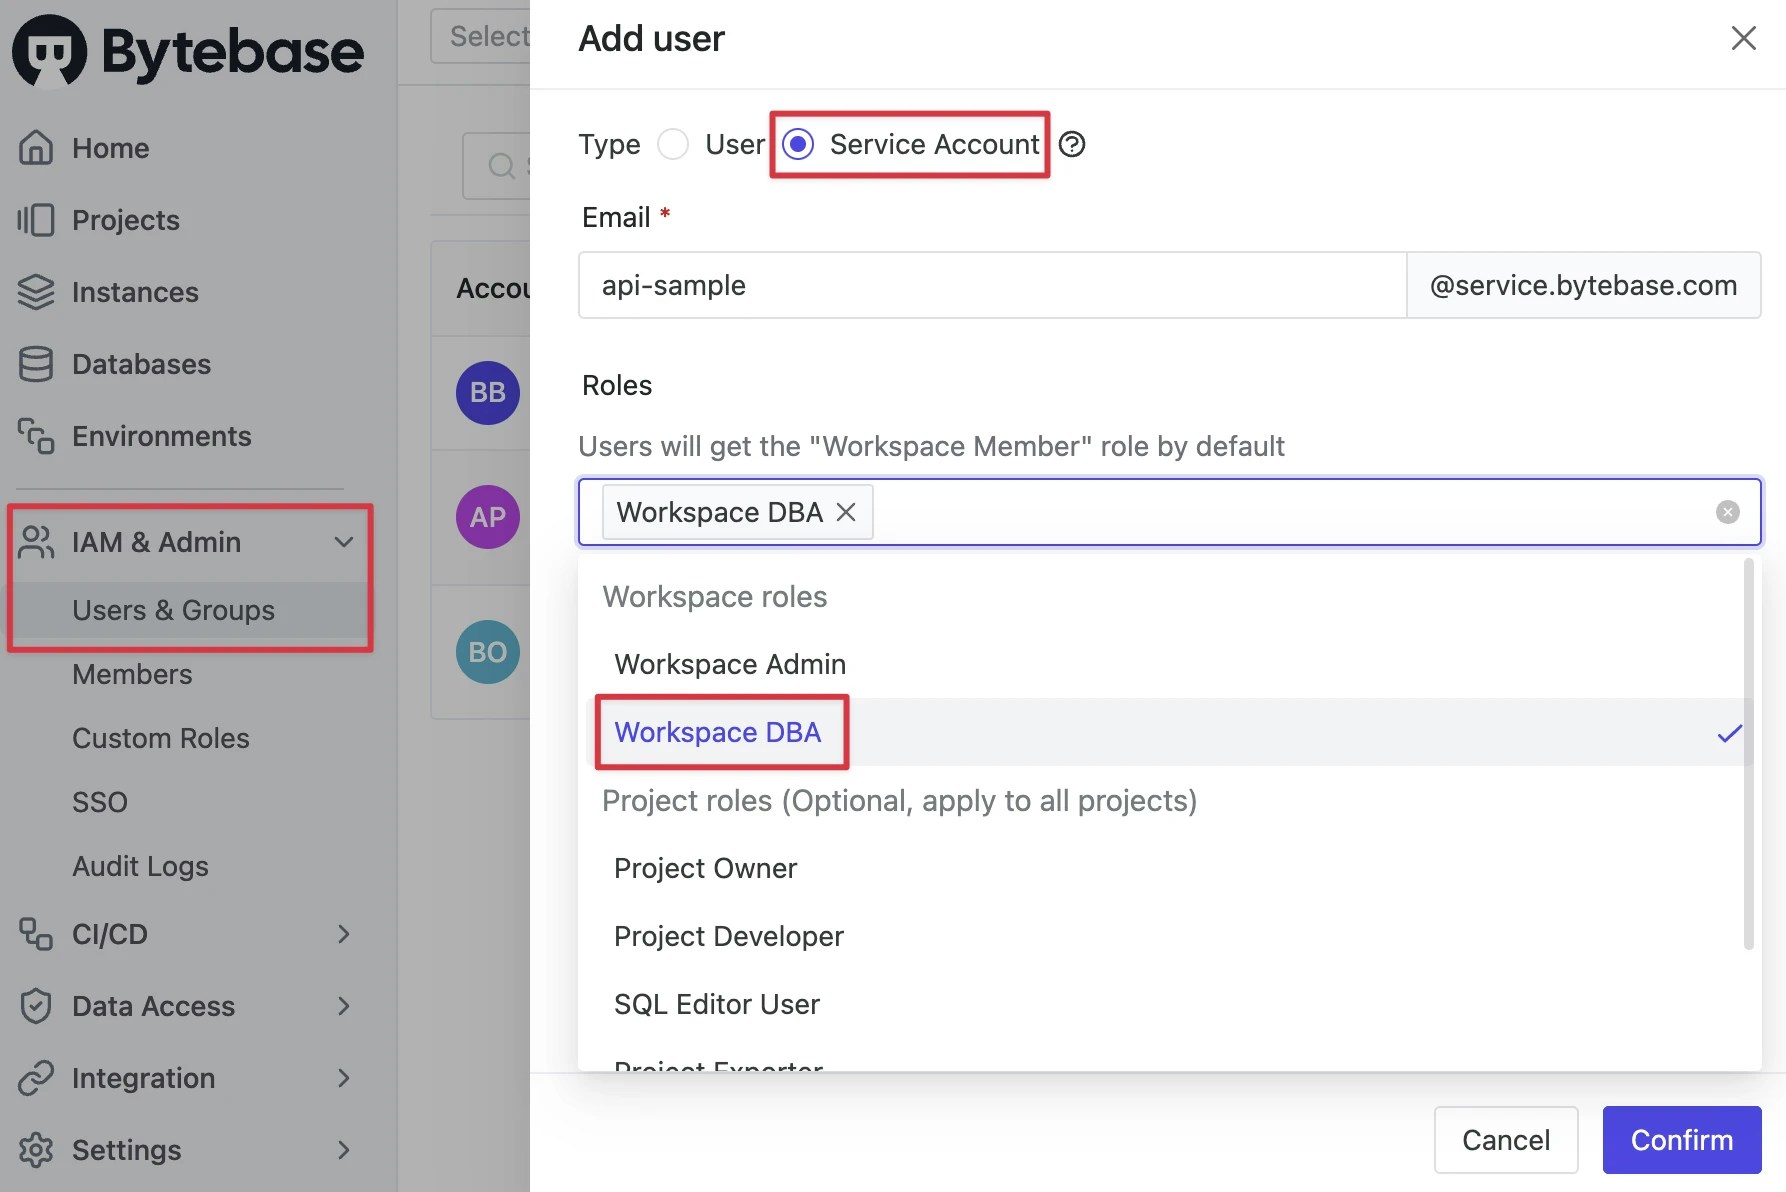
1. Log in as `Workspace Admin`, and go to **IAM & Admin** > **Users & Groups**. Click **+ Add User**, fill in with `api-sample`, choose the `Workspace DBA` role sufficient for this tutorial and click **Confirm**.
In our previous tutorials, we demonstrated how to use the Bytebase API to:
1. [Create a schema change](/tutorials/api-issue)
2. [Check user and database permissions](/tutorials/api-user-database-permission)
This tutorial will focus on fetch and filter audit log in Bytebase, it's OK if you haven't gone through the previous tutorials.
## Repository
[https://github.com/bytebase/example-api/tree/main/audit-log](https://github.com/bytebase/example-api/tree/main/audit-log)
## Prerequisites
1. [Docker](https://www.docker.com/) installed
2. Node.js >= v18
## Start Bytebase
Make sure your Docker daemon is running. Copy and paste the commands to start Bytebase.
```bash theme={null}
docker run --rm --init \
--name bytebase \
--publish 8080:8080 --pull always \
--volume ~/.bytebase/data:/var/opt/bytebase \
bytebase/bytebase:latest
```
Bytebase is now running via Docker, and you can access it via `localhost:8080`. Register the first admin account which will be granted [`Workspace Admin`](/administration/roles).
## Create Service Account
1. Log in as `Workspace Admin`, and go to **IAM & Admin** > **Users & Groups**. Click **+ Add User**, fill in with `api-sample`, choose the `Workspace DBA` role sufficient for this tutorial and click **Confirm**.
 2. Find the newly created service account and **Copy Service Key**. We will use this token to authenticate the API calls.
 ## Run Demo
1. Go to [Bytebase API Example
repo](https://github.com/bytebase/example-api) and clone it.
2. Copy `env-template.local` to `.env.local`.Update the variables.
* `NEXT_PUBLIC_BB_URL`: `http://localhost:8080`
* `NEXT_PUBLIC_BB_SERVICE_ACCOUNT`: `api-example`
* `NEXT_PUBLIC_BB_SERVICE_KEY`: service key copied in previous step
3. Go to subfolder `audit-log`, and run the following commands to start the demo application.
```bash theme={null}
pnpm i && pnpm dev
```
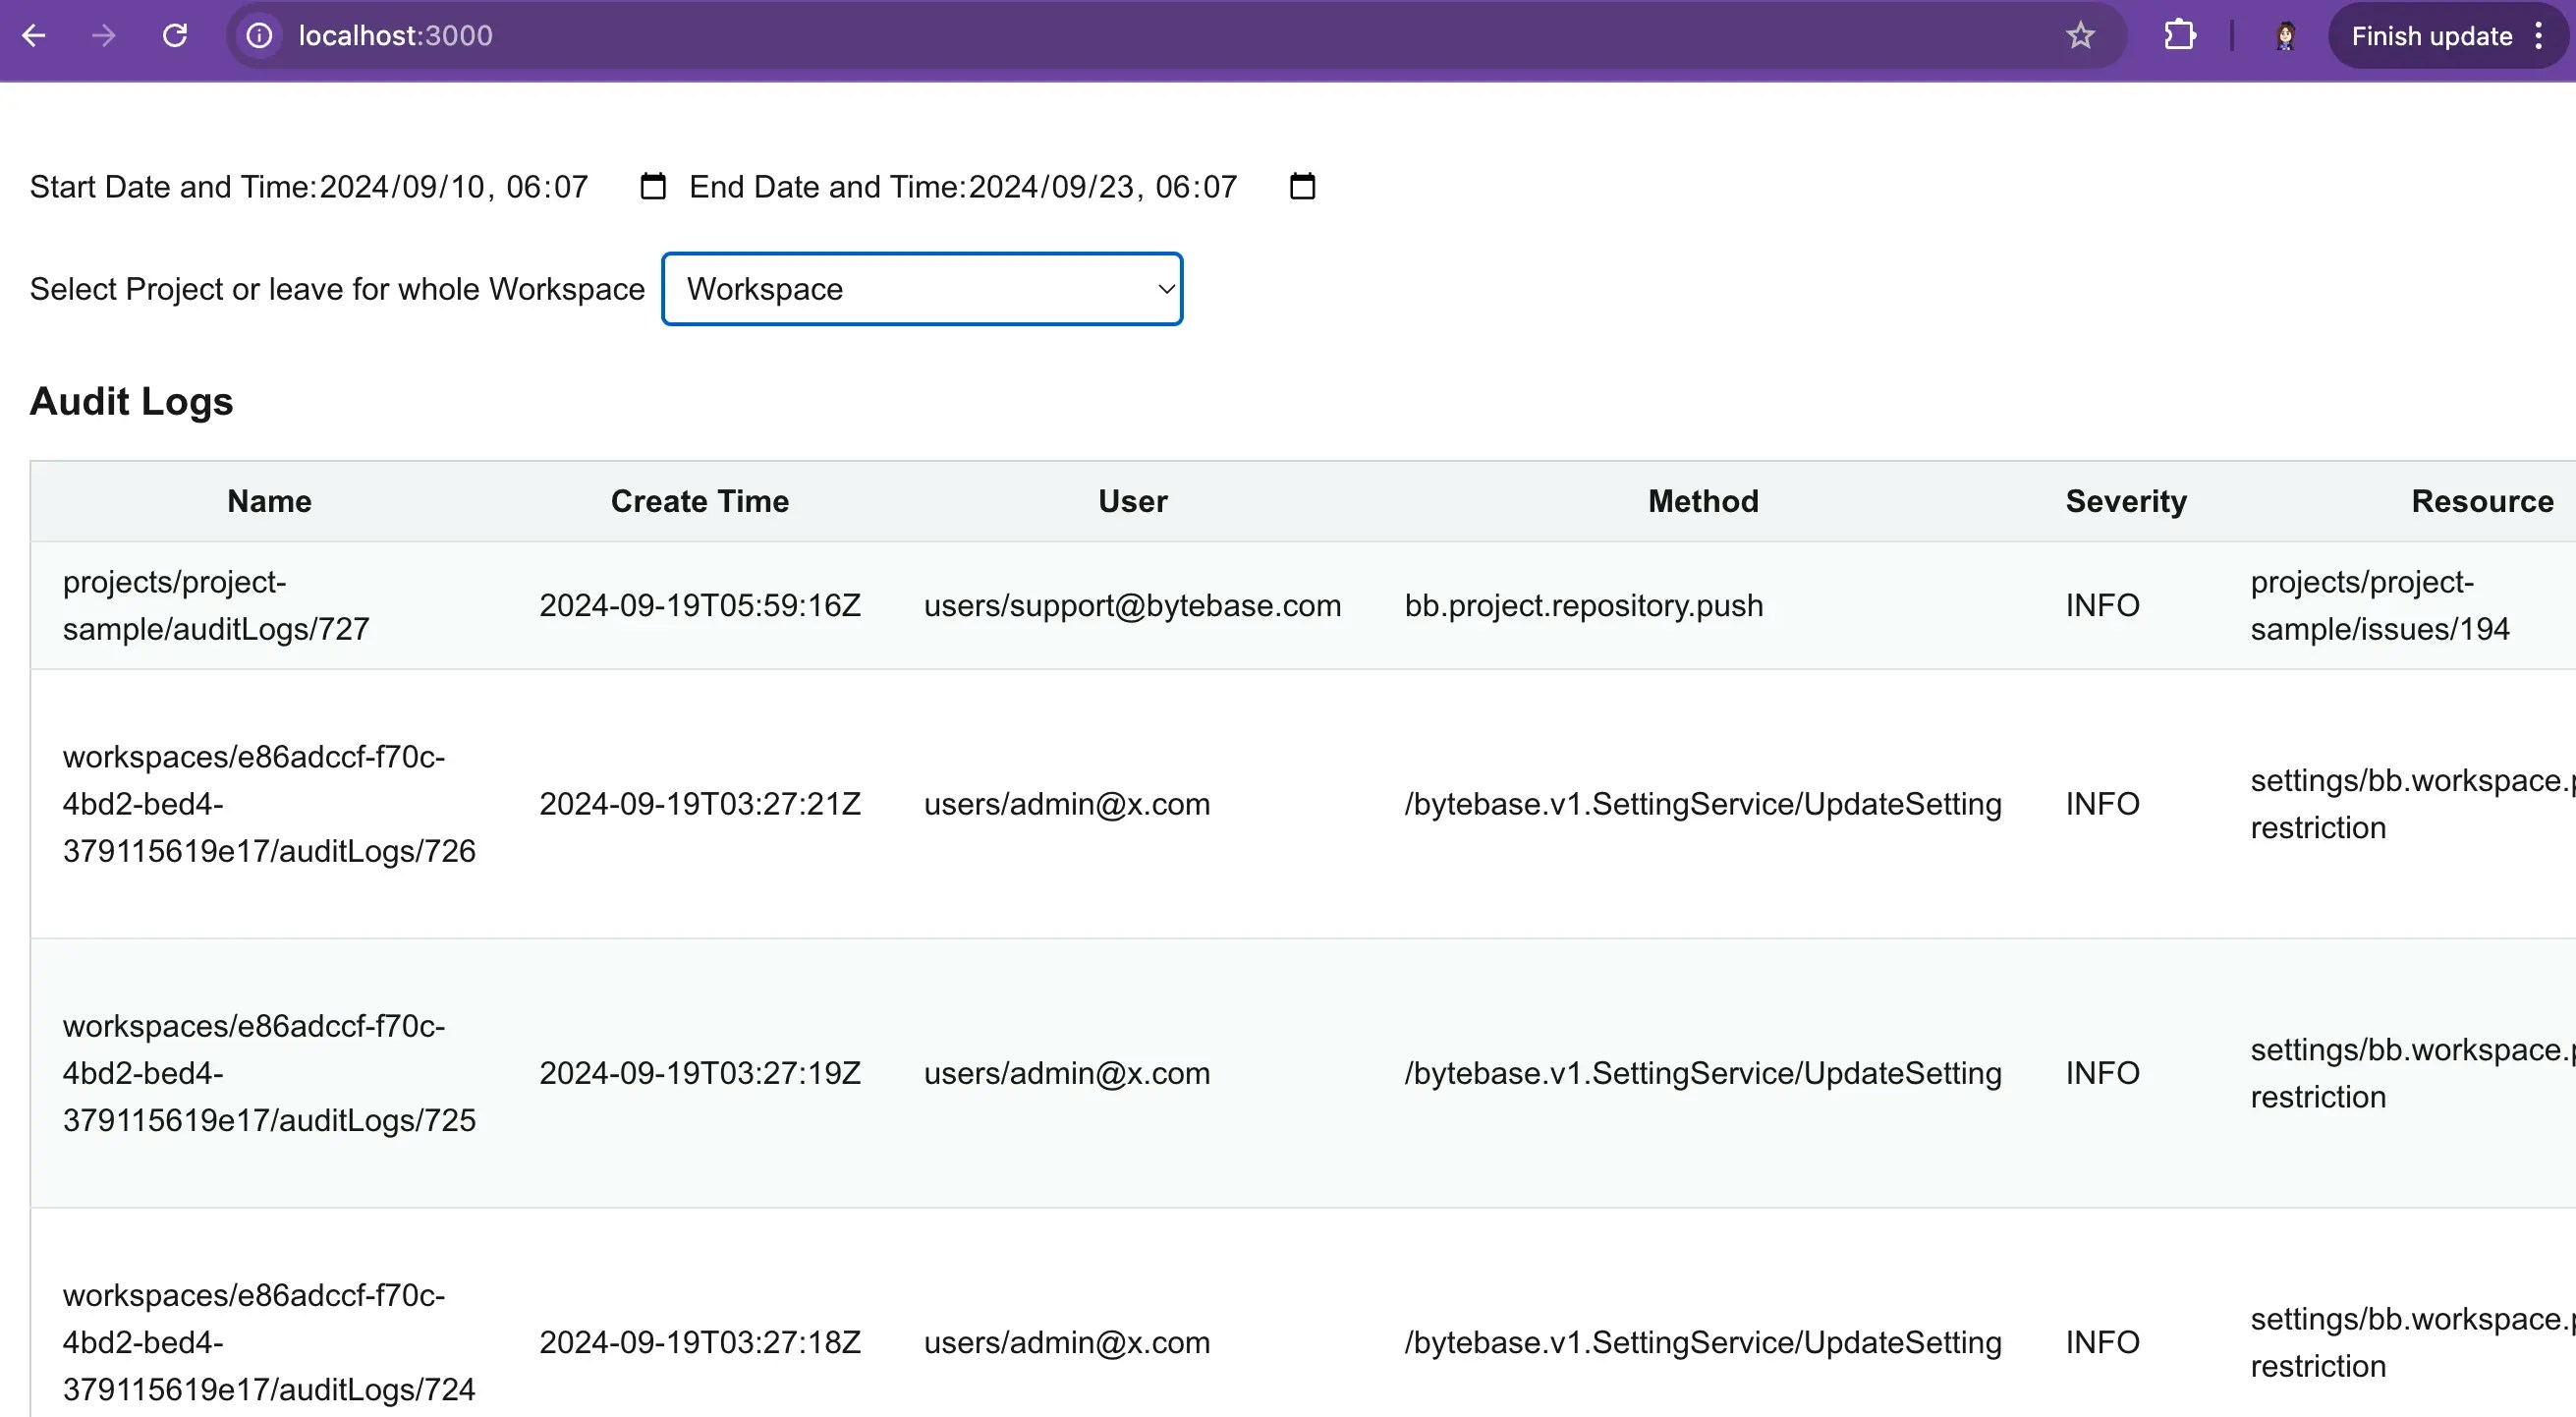
4. Open the demo in your browser, you'll see the following page.
## Run Demo
1. Go to [Bytebase API Example
repo](https://github.com/bytebase/example-api) and clone it.
2. Copy `env-template.local` to `.env.local`.Update the variables.
* `NEXT_PUBLIC_BB_URL`: `http://localhost:8080`
* `NEXT_PUBLIC_BB_SERVICE_ACCOUNT`: `api-example`
* `NEXT_PUBLIC_BB_SERVICE_KEY`: service key copied in previous step
3. Go to subfolder `audit-log`, and run the following commands to start the demo application.
```bash theme={null}
pnpm i && pnpm dev
```
4. Open the demo in your browser, you'll see the following page.
 5. To enhance the demo's realism, go to Bytebase:
* Go to **SQL Editor** to query the database
* Go to a specific project and do some database changes, e.g. create a database, create a table, add some data.
## Fetch and Filter Audit Log
Let's dig into the [code](https://github.com/bytebase/example-api/tree/main/audit-log/src):
1. In `page.tsx`, we fetch all projects by calling the [/v1/projects](https://api.bytebase.com/#tag/projectservice/GET/v1/projects) API before any project selection.
2. Bytebase has two levels of audit log: **Workspace** and **Project**. When the user first visit the demo, We fetch Workspace-level audit log via [/v1/auditLogs:search](https://api.bytebase.com/#tag/auditlogservice/POST/v1/auditLogs:search) API. The default time range is 7 days back till now. You may also adjust the time range by passing `startTime` and `endTime` in the request body via `filter`.
```javascript theme={null}
const filter = `create_time >= '${startDate}' && create_time <= '${endDate}'`;
```
3. In `db-fetch-user-permission.tsx`, if the user select a speicifc project, we fetch the project-level audit log via [/v1/projects/PROJECT\_ID/auditLogs:search](https://api.bytebase.com/#tag/auditlogservice/POST/v1/projects/\{project}/auditLogs:search) API. The time range filter is the same as the workspace-level audit log.
## Summary
Congratulations! You've successfully created a database audit viewer using the Bytebase API. Similarly, you may export the log by calling [/v1/auditLogs:export](https://api.bytebase.com/#tag/auditlogservice/POST/v1/auditLogs:export) API.
5. To enhance the demo's realism, go to Bytebase:
* Go to **SQL Editor** to query the database
* Go to a specific project and do some database changes, e.g. create a database, create a table, add some data.
## Fetch and Filter Audit Log
Let's dig into the [code](https://github.com/bytebase/example-api/tree/main/audit-log/src):
1. In `page.tsx`, we fetch all projects by calling the [/v1/projects](https://api.bytebase.com/#tag/projectservice/GET/v1/projects) API before any project selection.
2. Bytebase has two levels of audit log: **Workspace** and **Project**. When the user first visit the demo, We fetch Workspace-level audit log via [/v1/auditLogs:search](https://api.bytebase.com/#tag/auditlogservice/POST/v1/auditLogs:search) API. The default time range is 7 days back till now. You may also adjust the time range by passing `startTime` and `endTime` in the request body via `filter`.
```javascript theme={null}
const filter = `create_time >= '${startDate}' && create_time <= '${endDate}'`;
```
3. In `db-fetch-user-permission.tsx`, if the user select a speicifc project, we fetch the project-level audit log via [/v1/projects/PROJECT\_ID/auditLogs:search](https://api.bytebase.com/#tag/auditlogservice/POST/v1/projects/\{project}/auditLogs:search) API. The time range filter is the same as the workspace-level audit log.
## Summary
Congratulations! You've successfully created a database audit viewer using the Bytebase API. Similarly, you may export the log by calling [/v1/auditLogs:export](https://api.bytebase.com/#tag/auditlogservice/POST/v1/auditLogs:export) API.